To ensure your photos represent the “True” style, they (Best Photographers in San Diego) undergo hours of hands-on care and attention. Our post-production process starts with an amazing photograph. We then take that photograph and bring out the very best within the image. These refined techniques really showcase the art and style of each photo, ensuring that the images will remain timeless, with that extra oomph :)
This post will walk you thru all the steps taken with the “best of the best” images.
Step 1 – Image Selection
When new photos are ready to be worked on, we start with a Culling Process. This is where we help narrow down the images and remove any duplicates, eyes closed, eye blinks shots. This involves a reviewing of every photo from your shoot, and deciding which ones best represent your day. You will still have access to every photograph taken, but there are certain shots from your photoshoot that are the clear standouts.
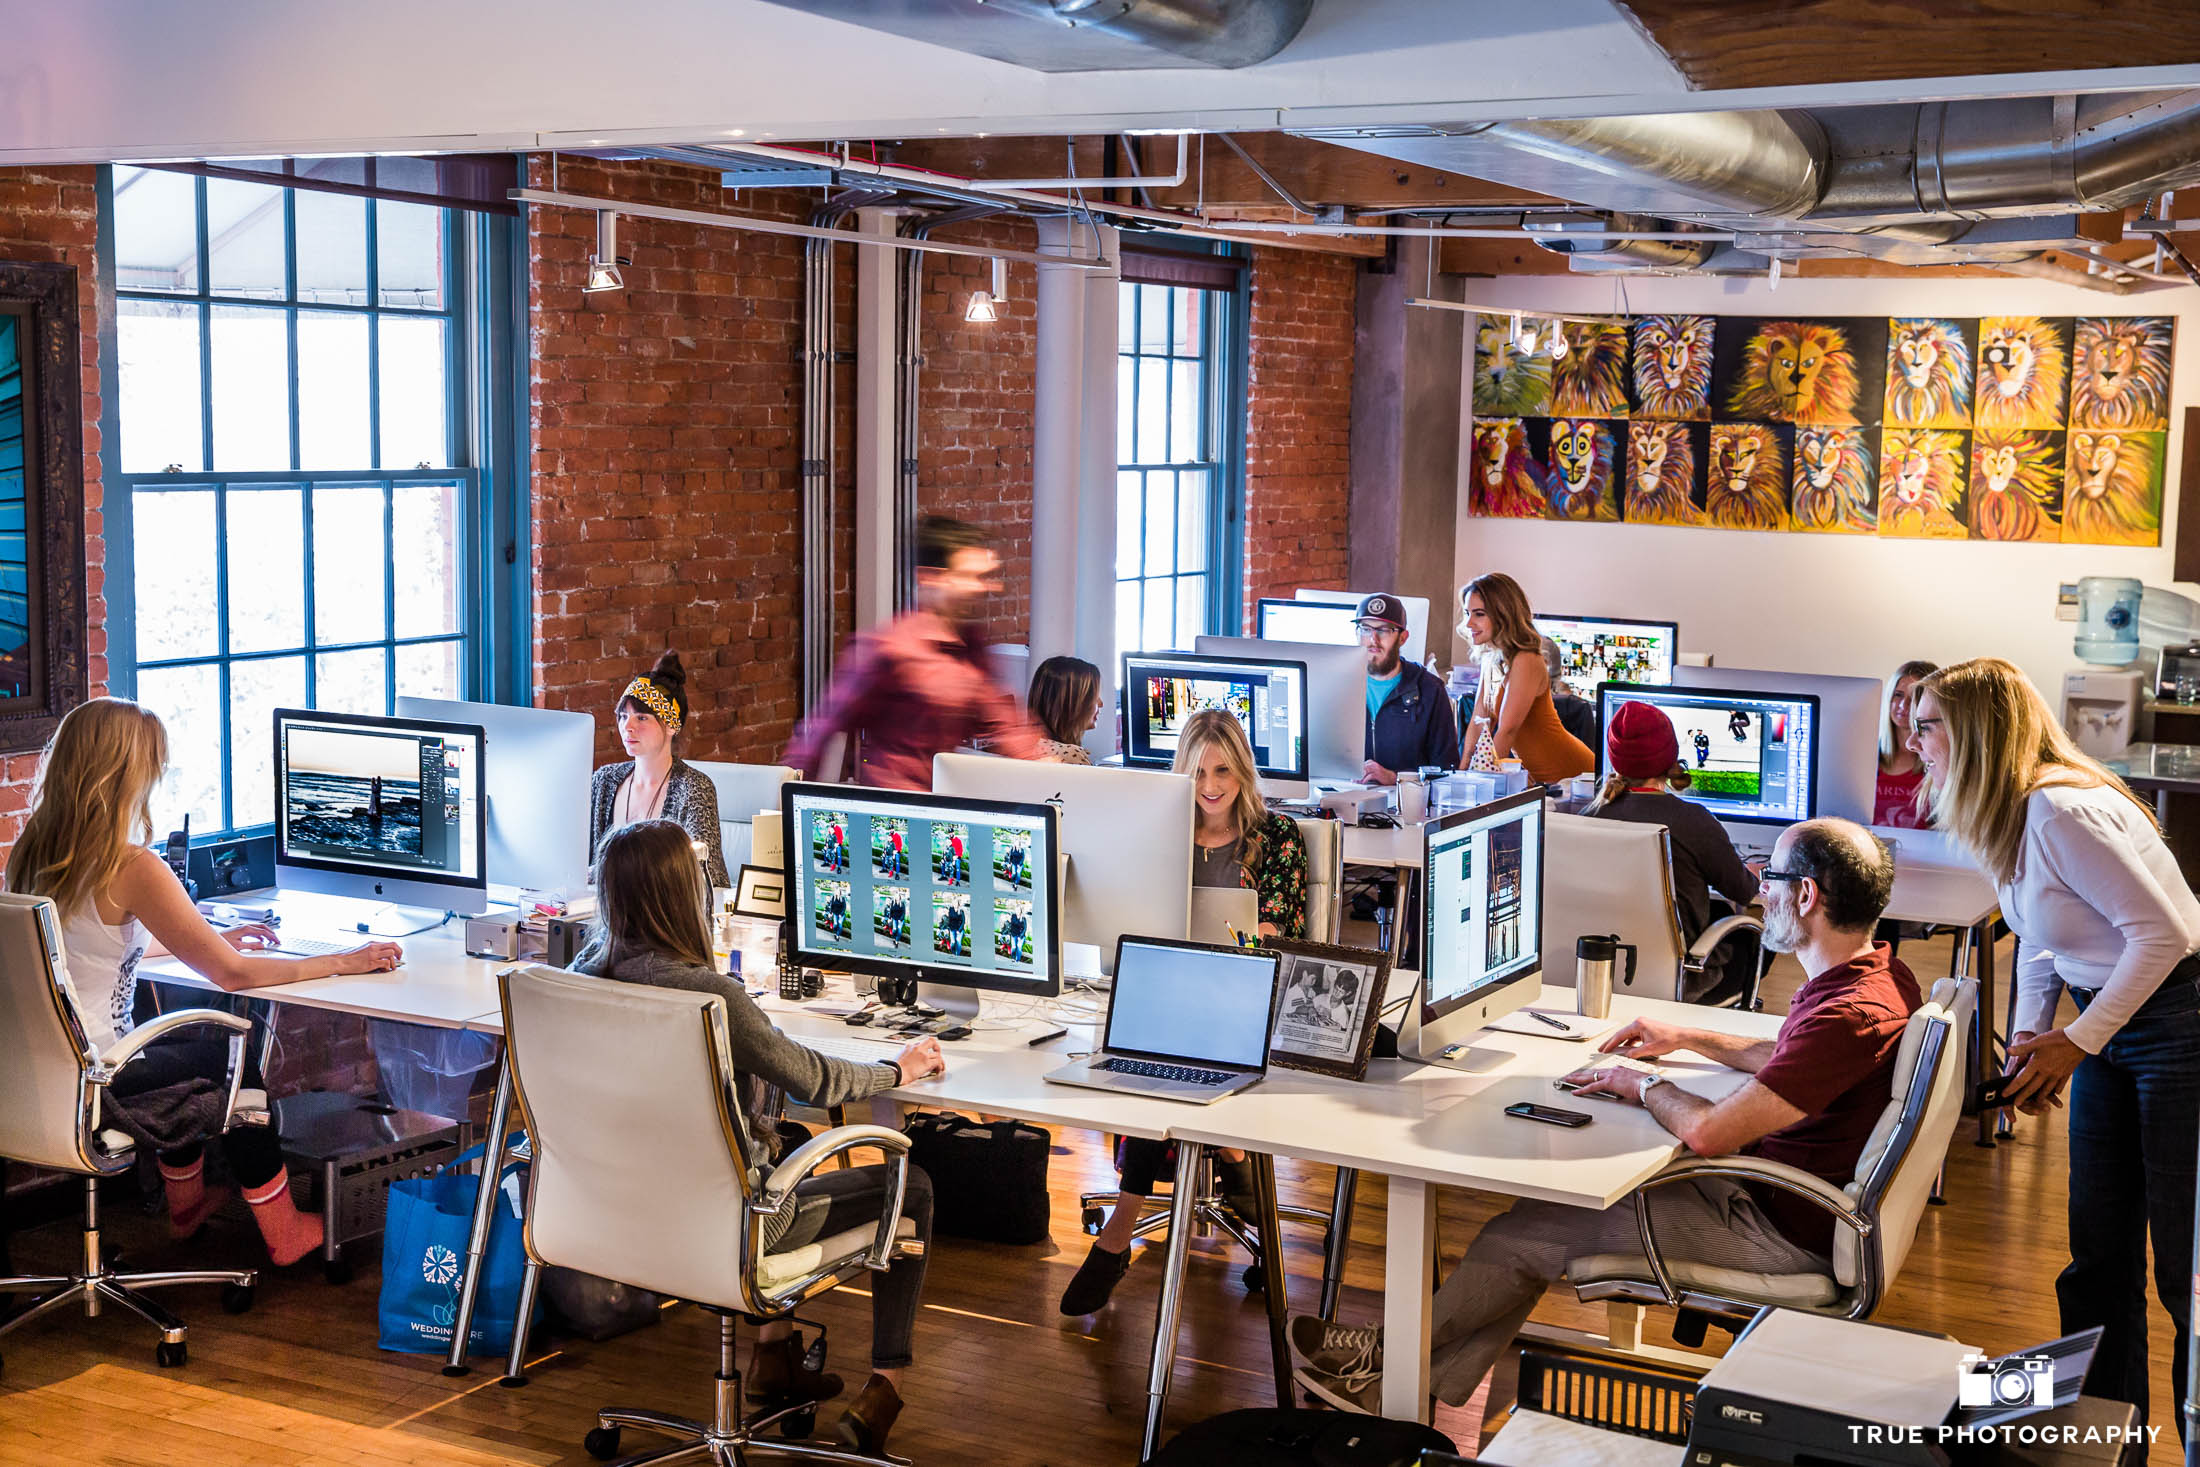
Members of our team, working hard on your photos. When making selections, we make sure to showcase a variety of poses, locations, and lighting.
STEP 2 – Image Enhancement
Now that we have our images narrowed down, it’s time to give them the True treatment. In this step, we adjust tones within each photo, correct temperature, and refine the color. We make a lot of small decisions that dictate how far to go, and when to stop.
For example, check out this image taken at Meaghan and Daniel’s wedding earlier this year:
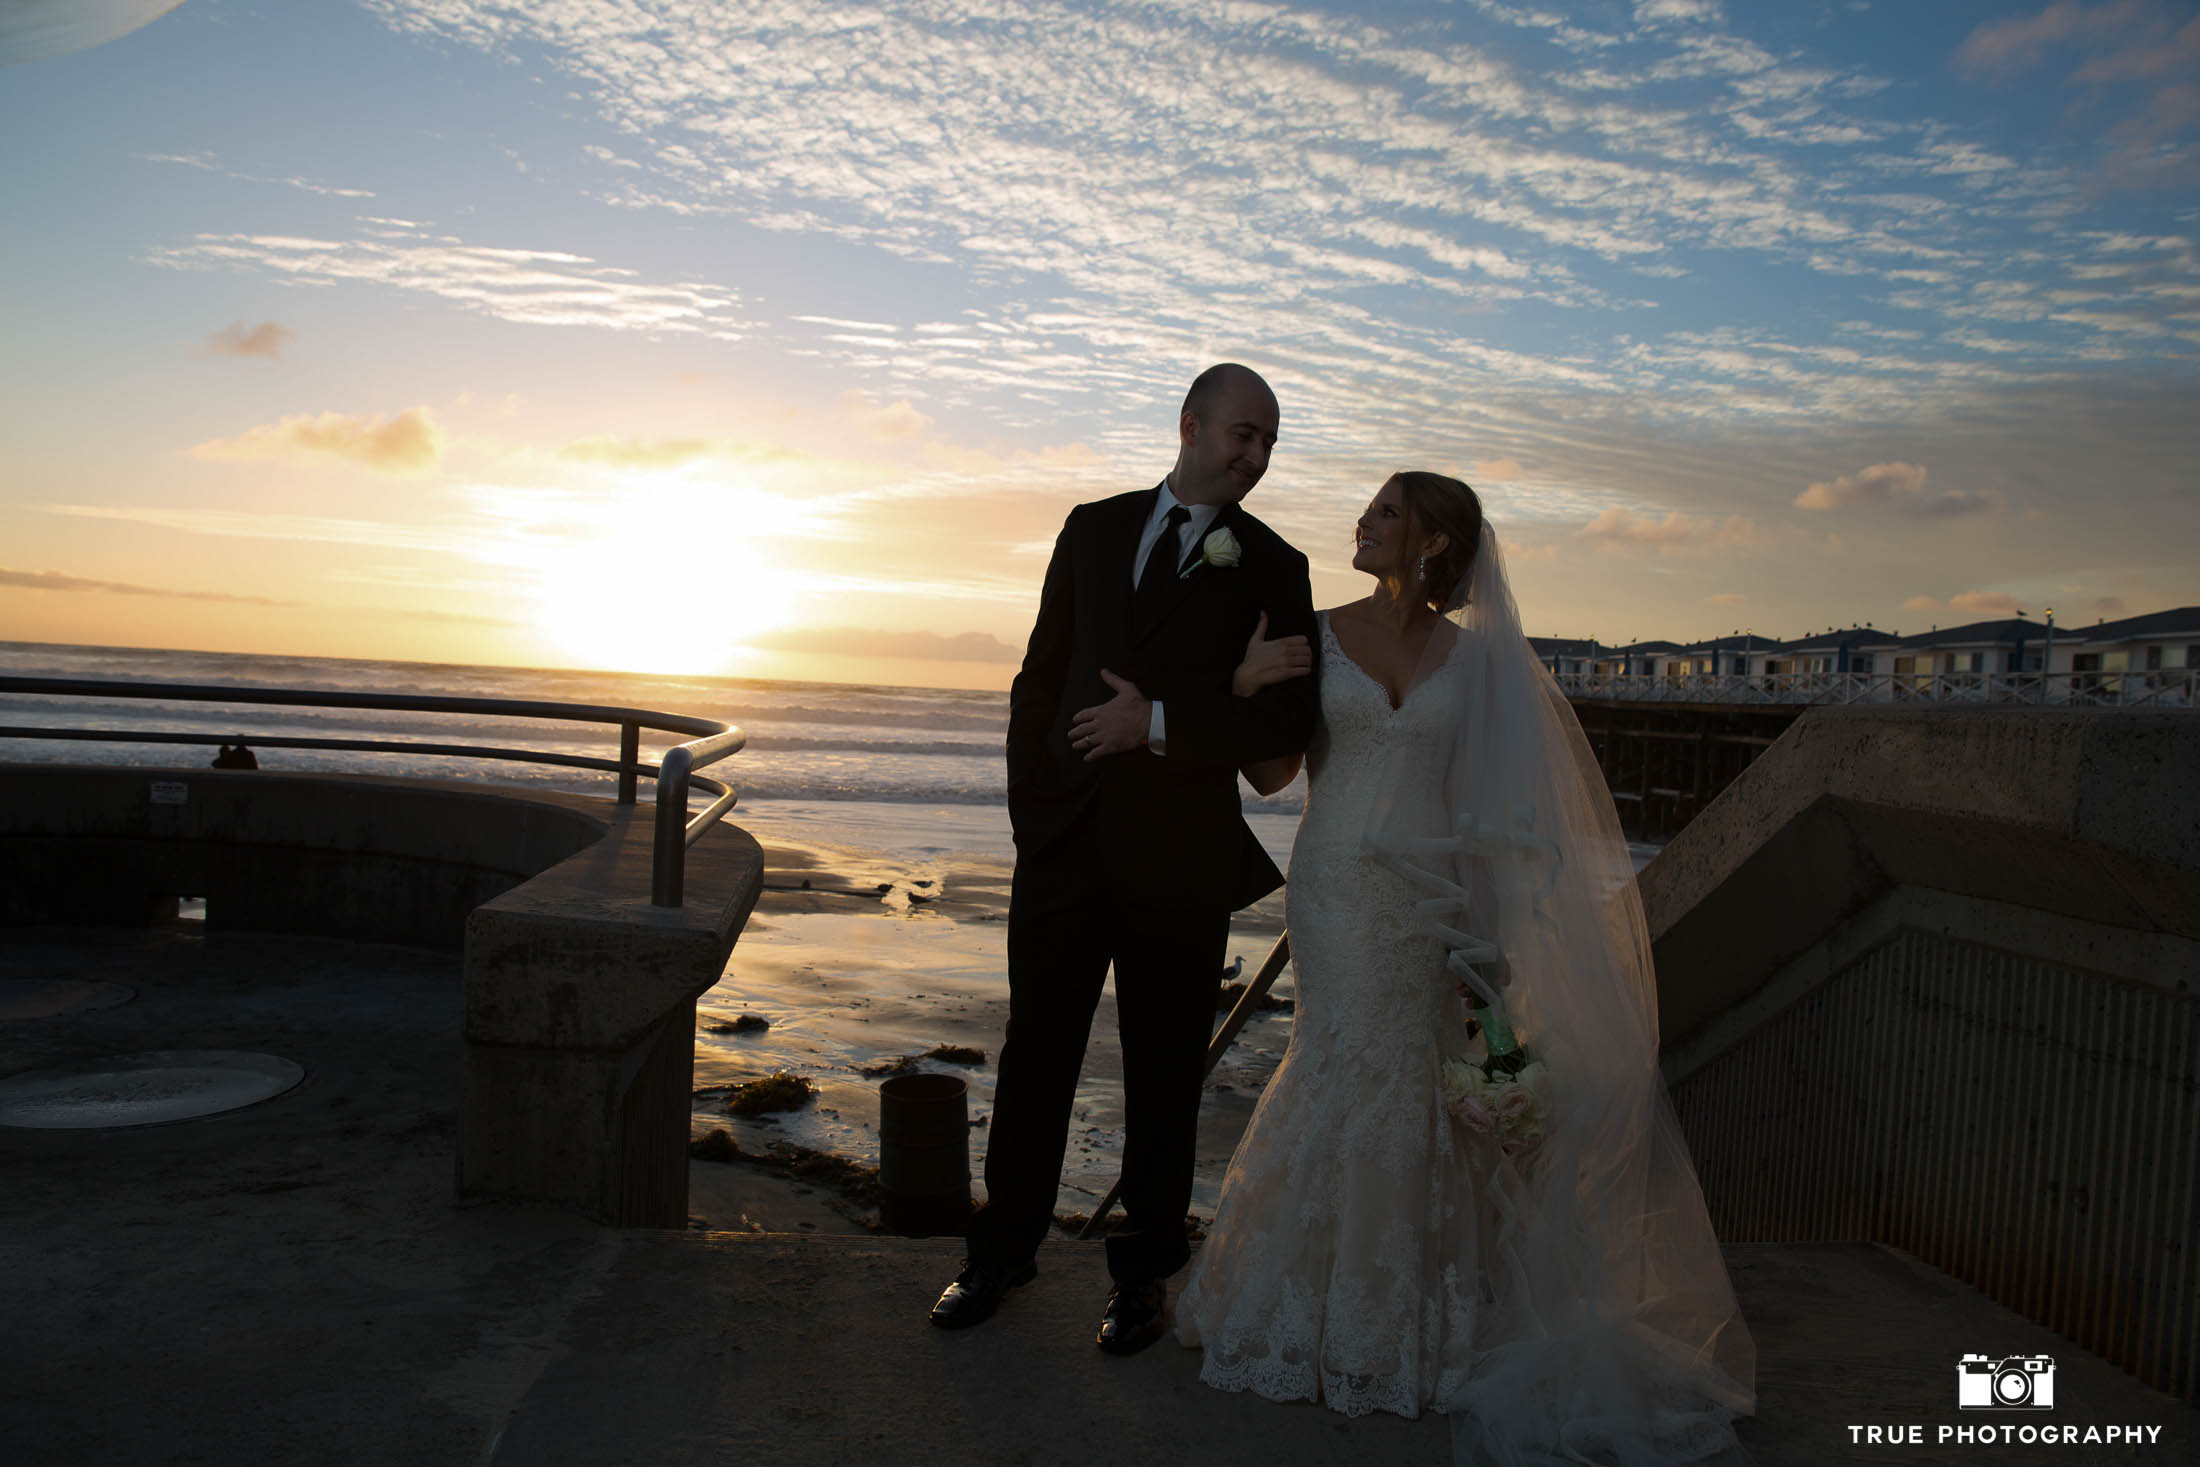
The example above is the original image, right out of the camera. Isn’t it pretty? :) We intentionally exposed it this way, for the highlights, in order to preserve the detail. Had the image been exposed for the mid-tones, all the detail in the sky would be lost, and no amount of post-production would bring it back.
Below are the steps if you have selected our upgrade Event Highlights, Enhancement and Retouch option. We identify the areas of the image that will require additional hands on enhancement.
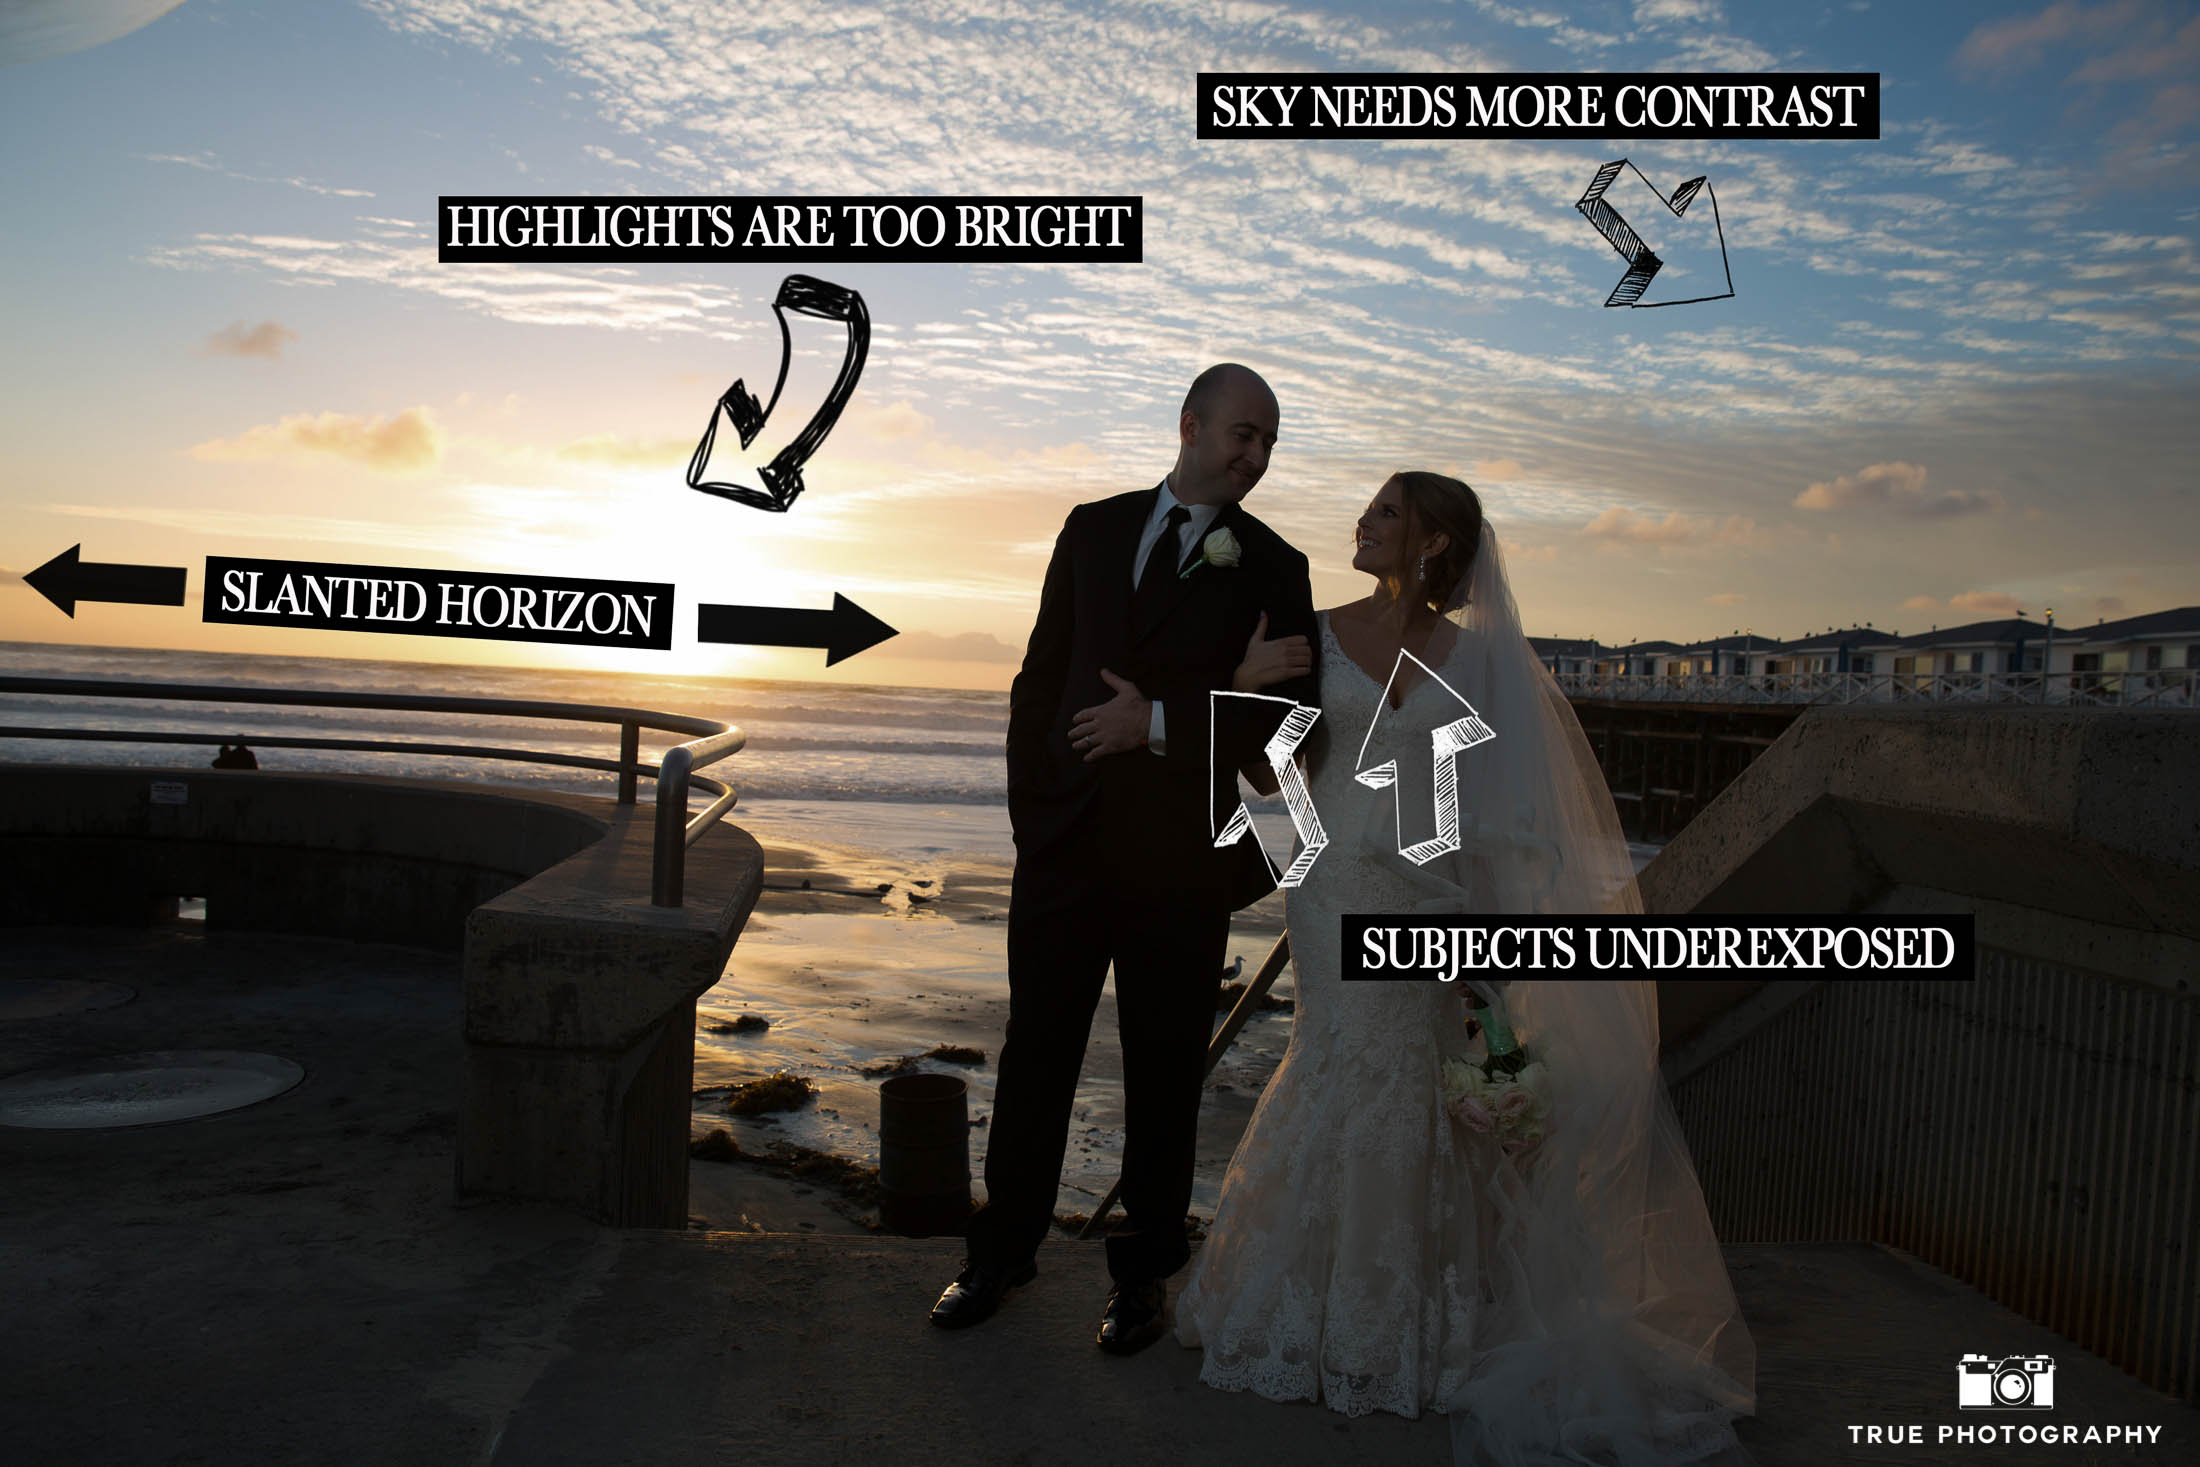
To address these items, we add our “Secret Sauce.” This consists of applying our custom, painstakingly developed Photoshop presets, as well as expert manual adjustments. We balance the color temperature, bring out the shadows, and restore any lost detail in the highlights, resulting in the image below.
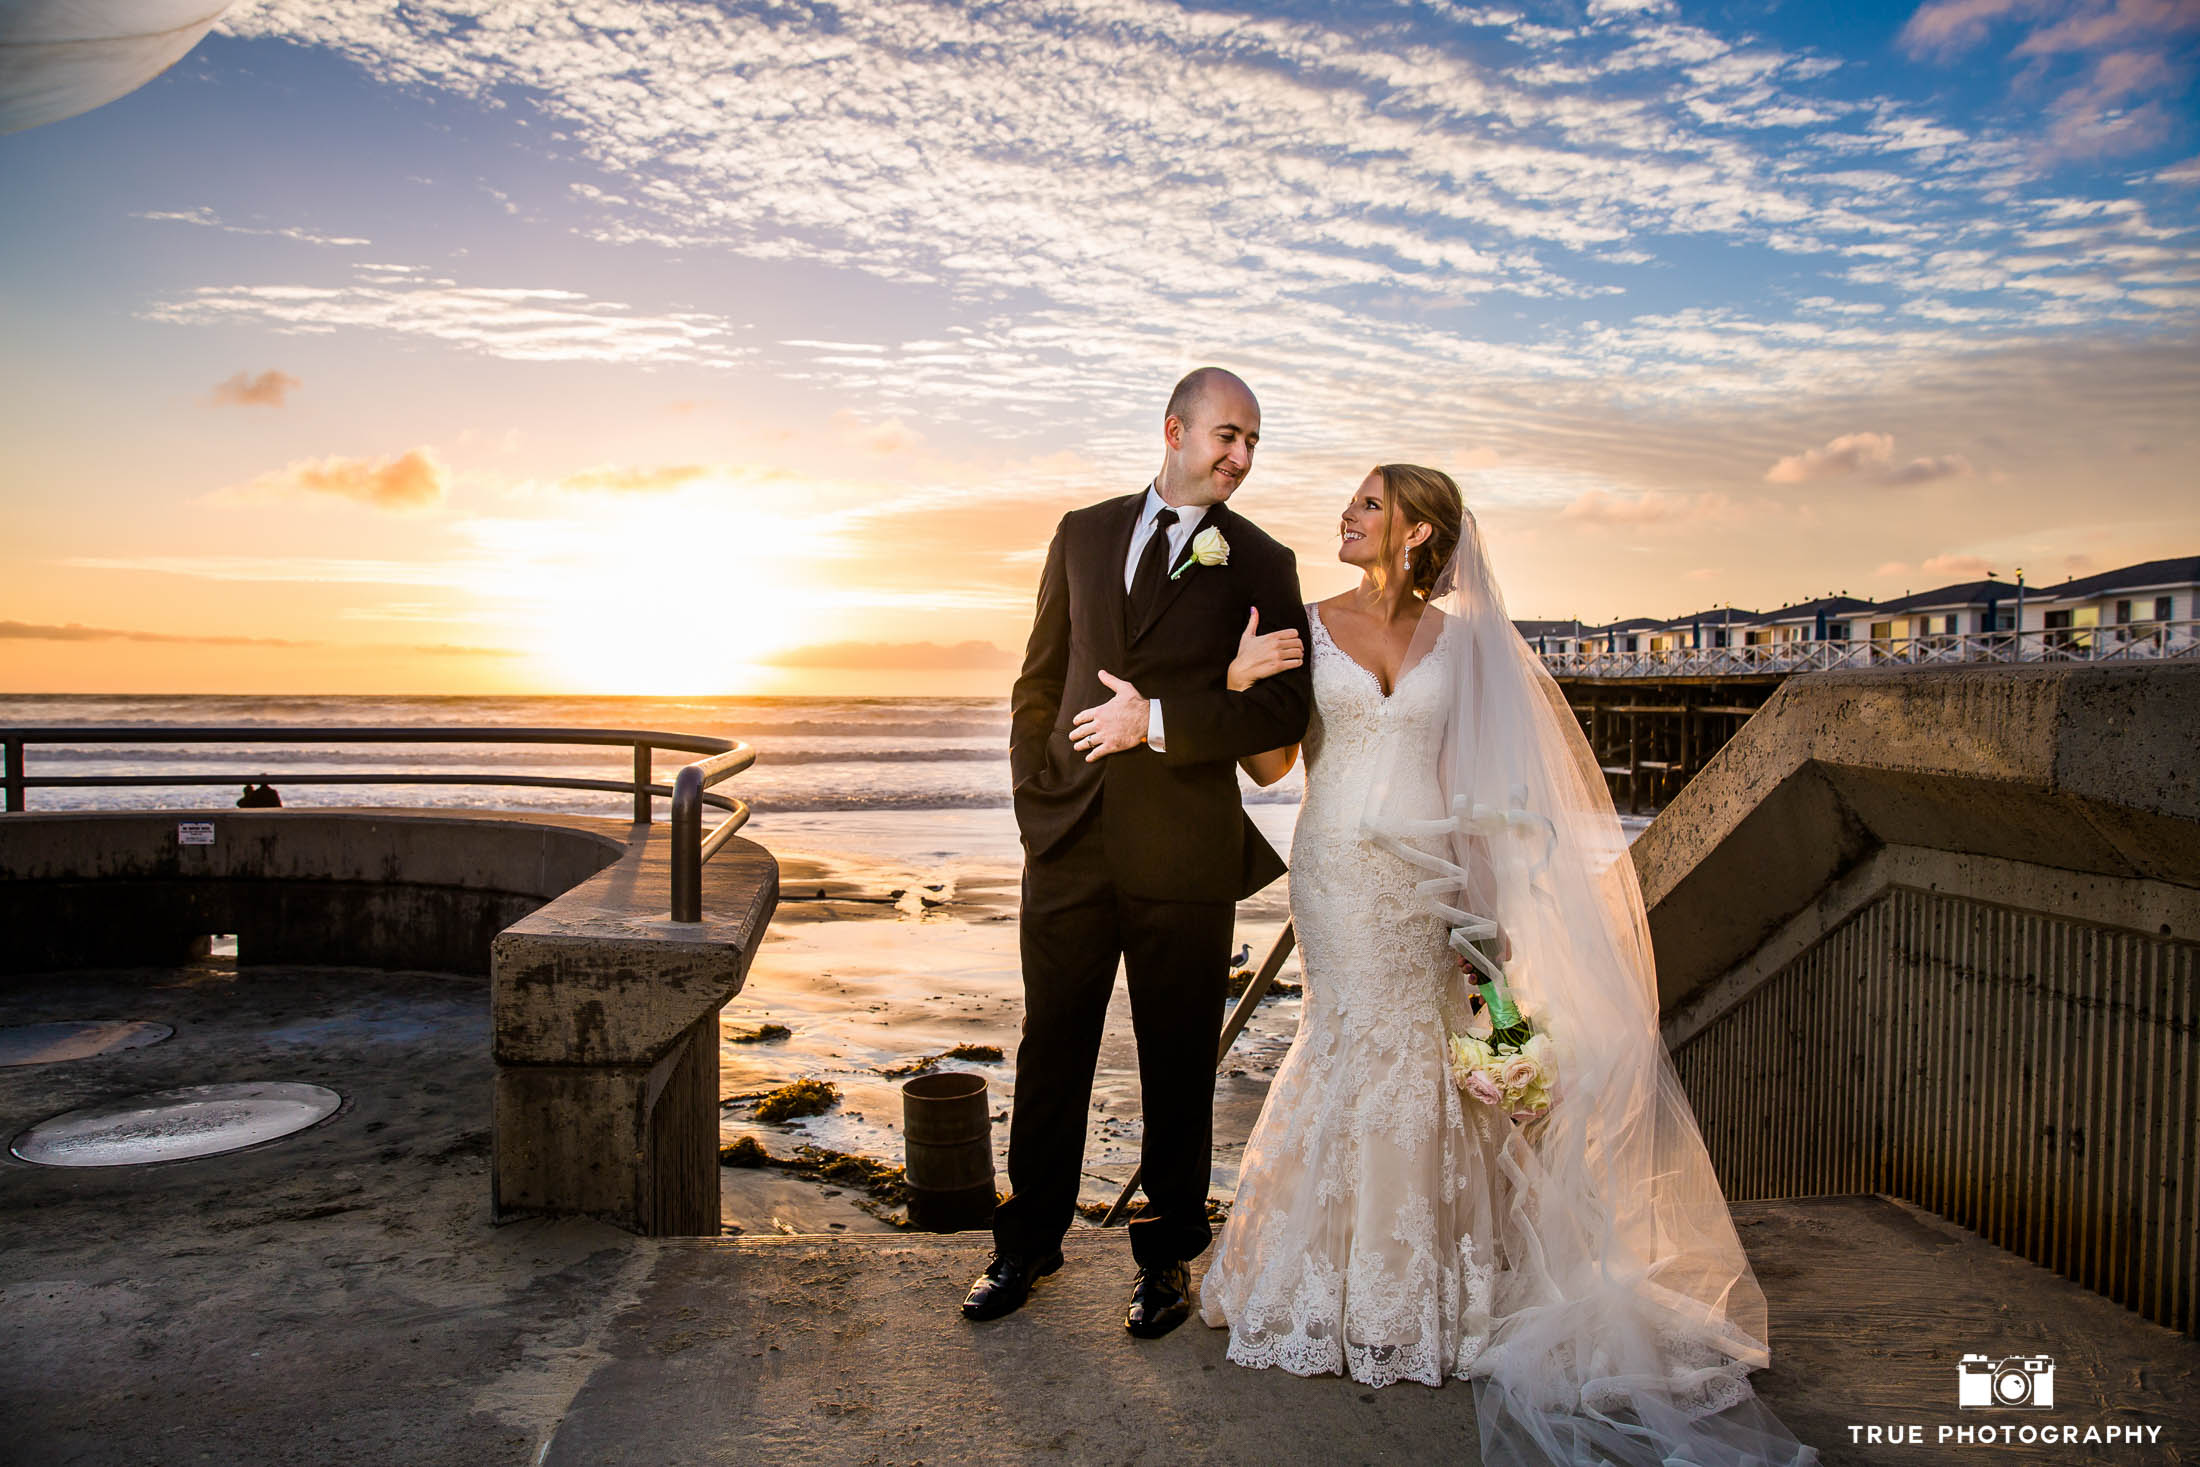
That’s looking better! This is the image after undergoing enhancement. We strive to create images that are bold, crisp and clean, while maintaining natural skin tones.
Step 3 – Image Retouching
With the image looking the way we want it, it’s now time for a little retouching. In this step, we use meticulous Photoshop techniques to remove skin blemishes, fly away hairs, and any other distractions in the image.
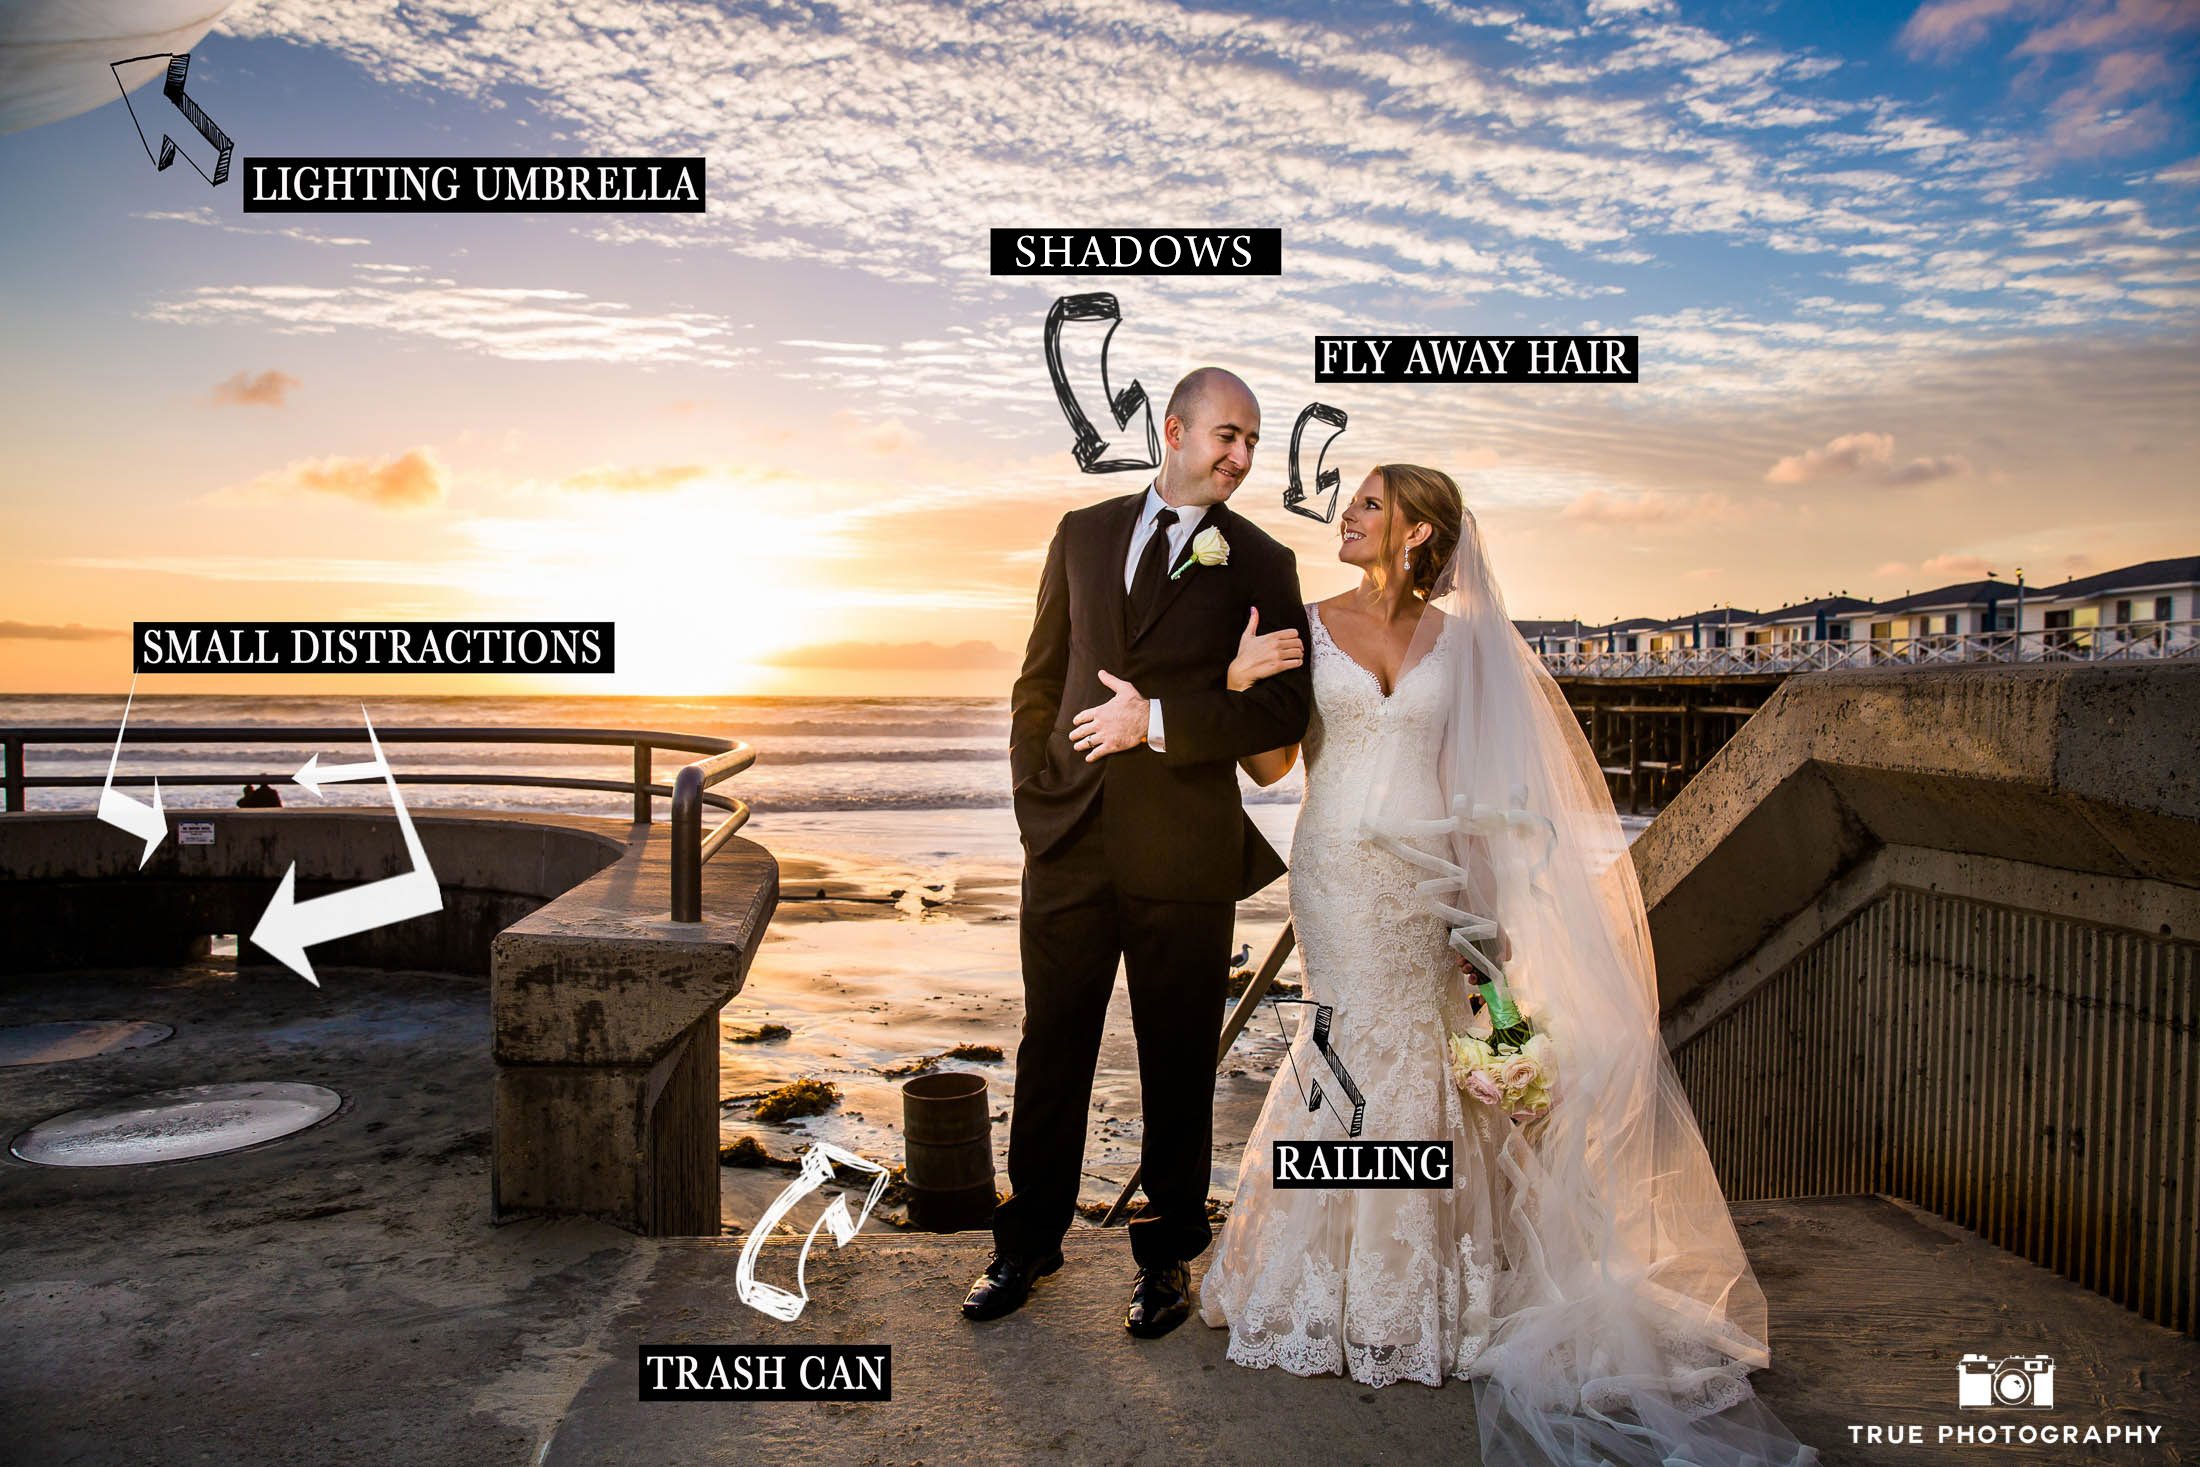
We identify areas of the image that will be retouched.
Step 4 – Image Delivery
After identifying the problem areas, and retouching the image, the result is a final product that we are proud to deliver to our clients. Check out the example below to see the results, after the retouch has been performed.
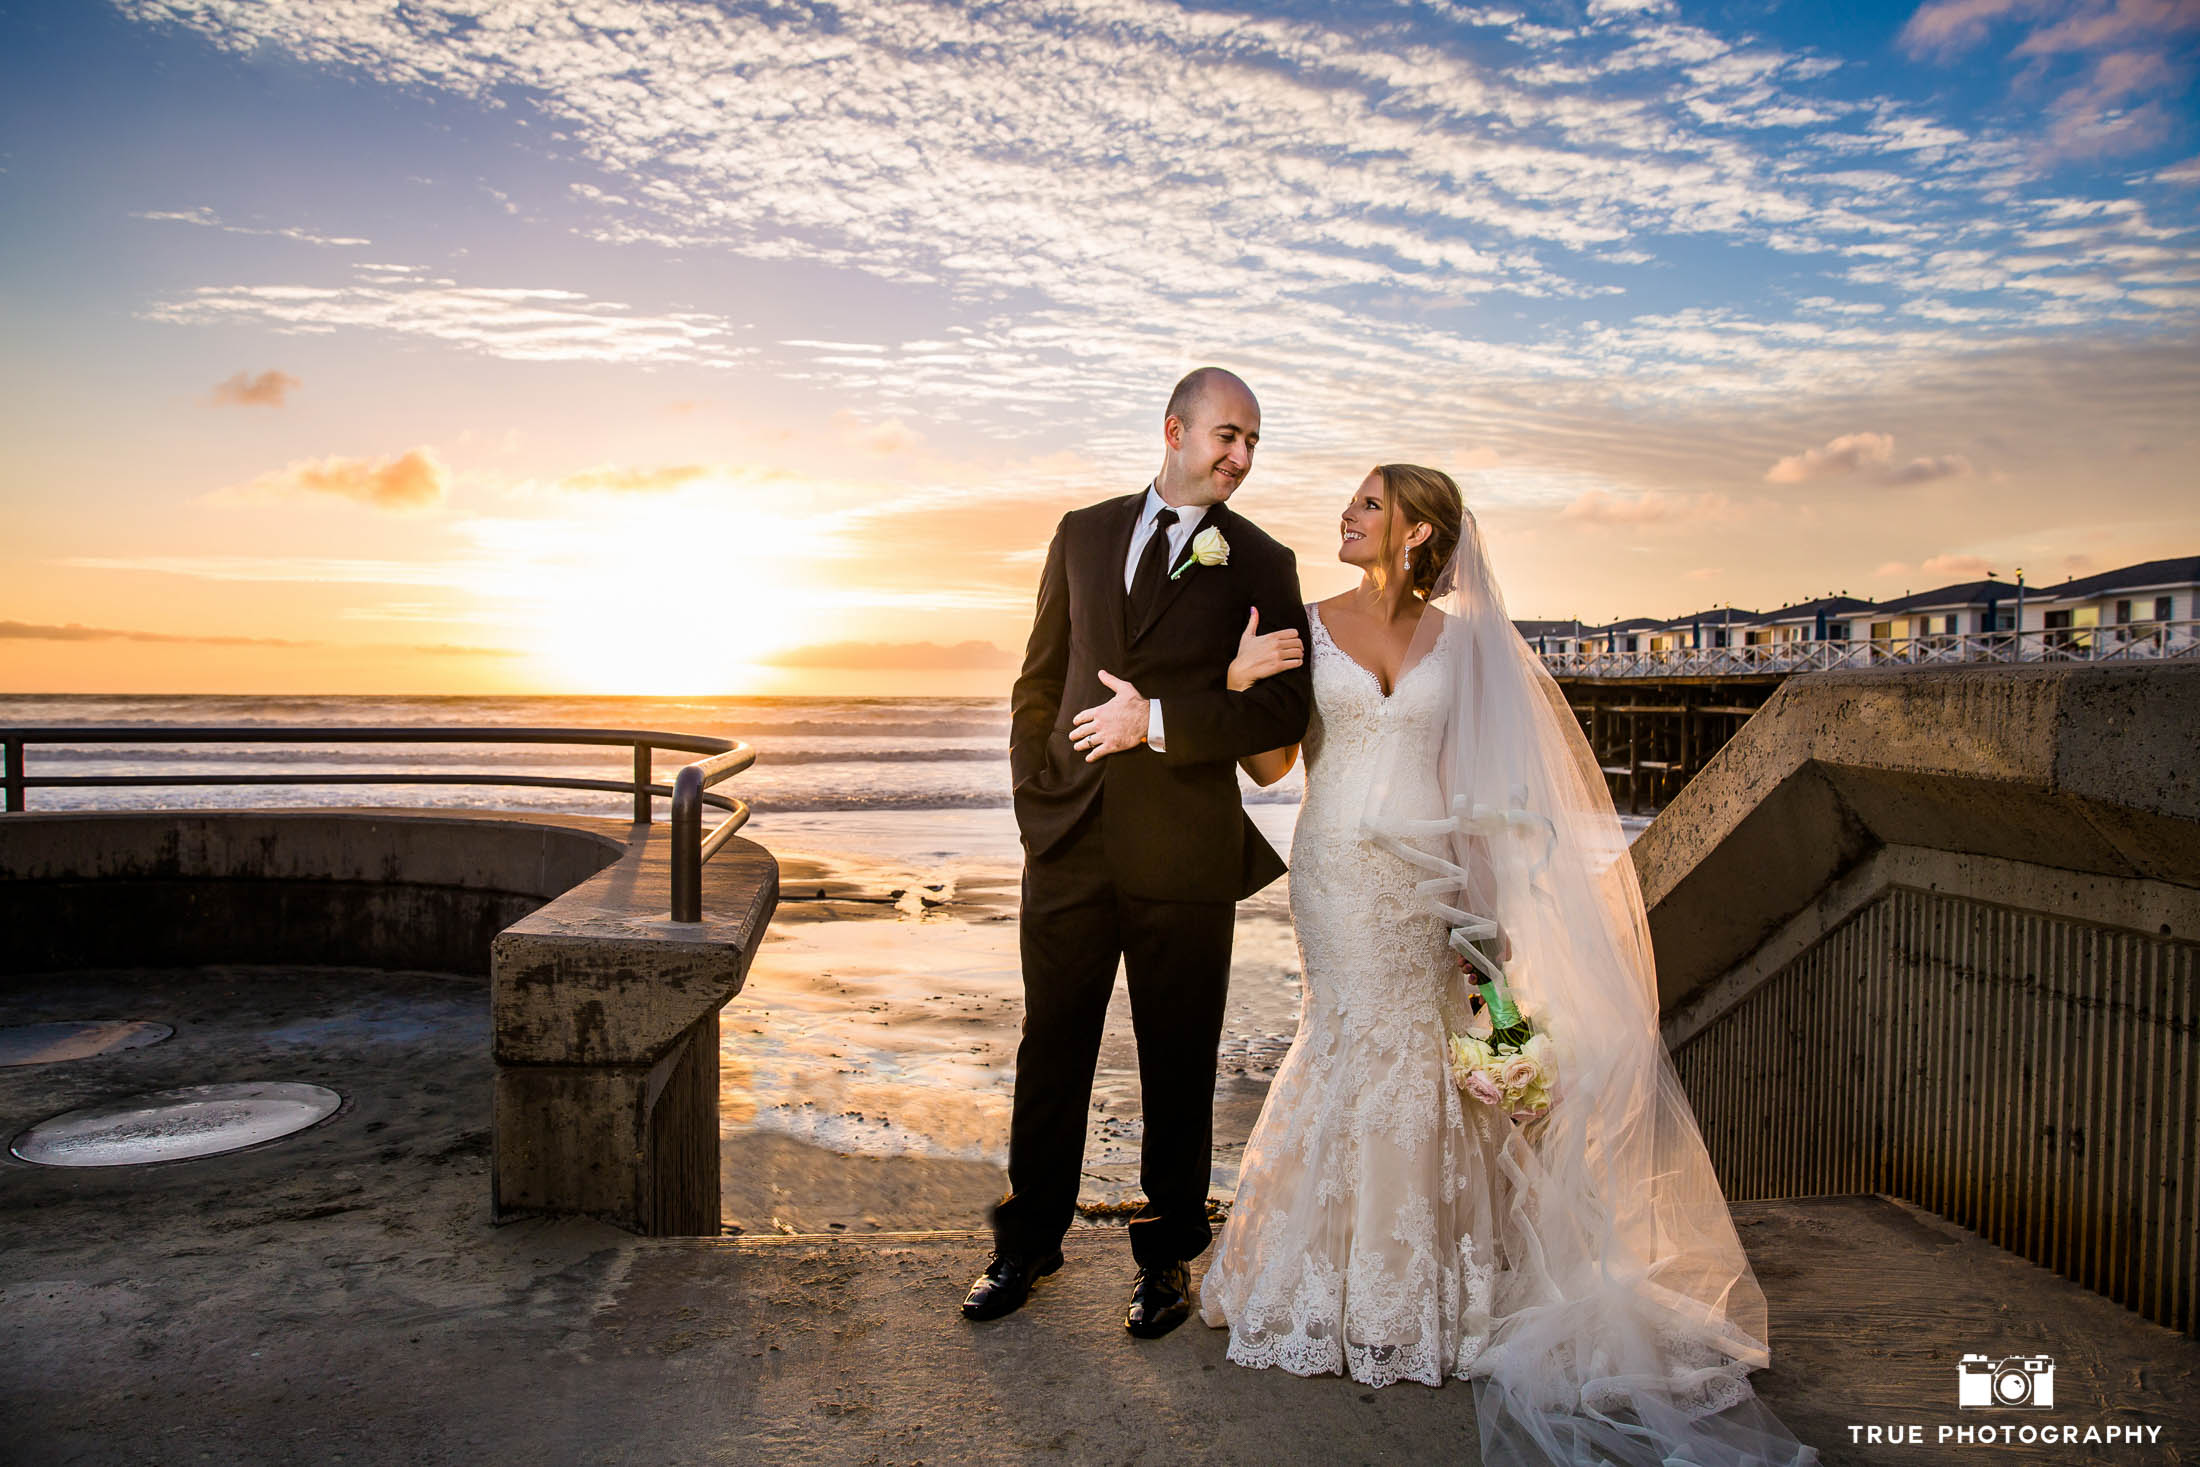
Compare this against the original image from before!
We hope you enjoyed this peek behind the scenes, with a glimpse into the hard work that goes into your finished photos.
